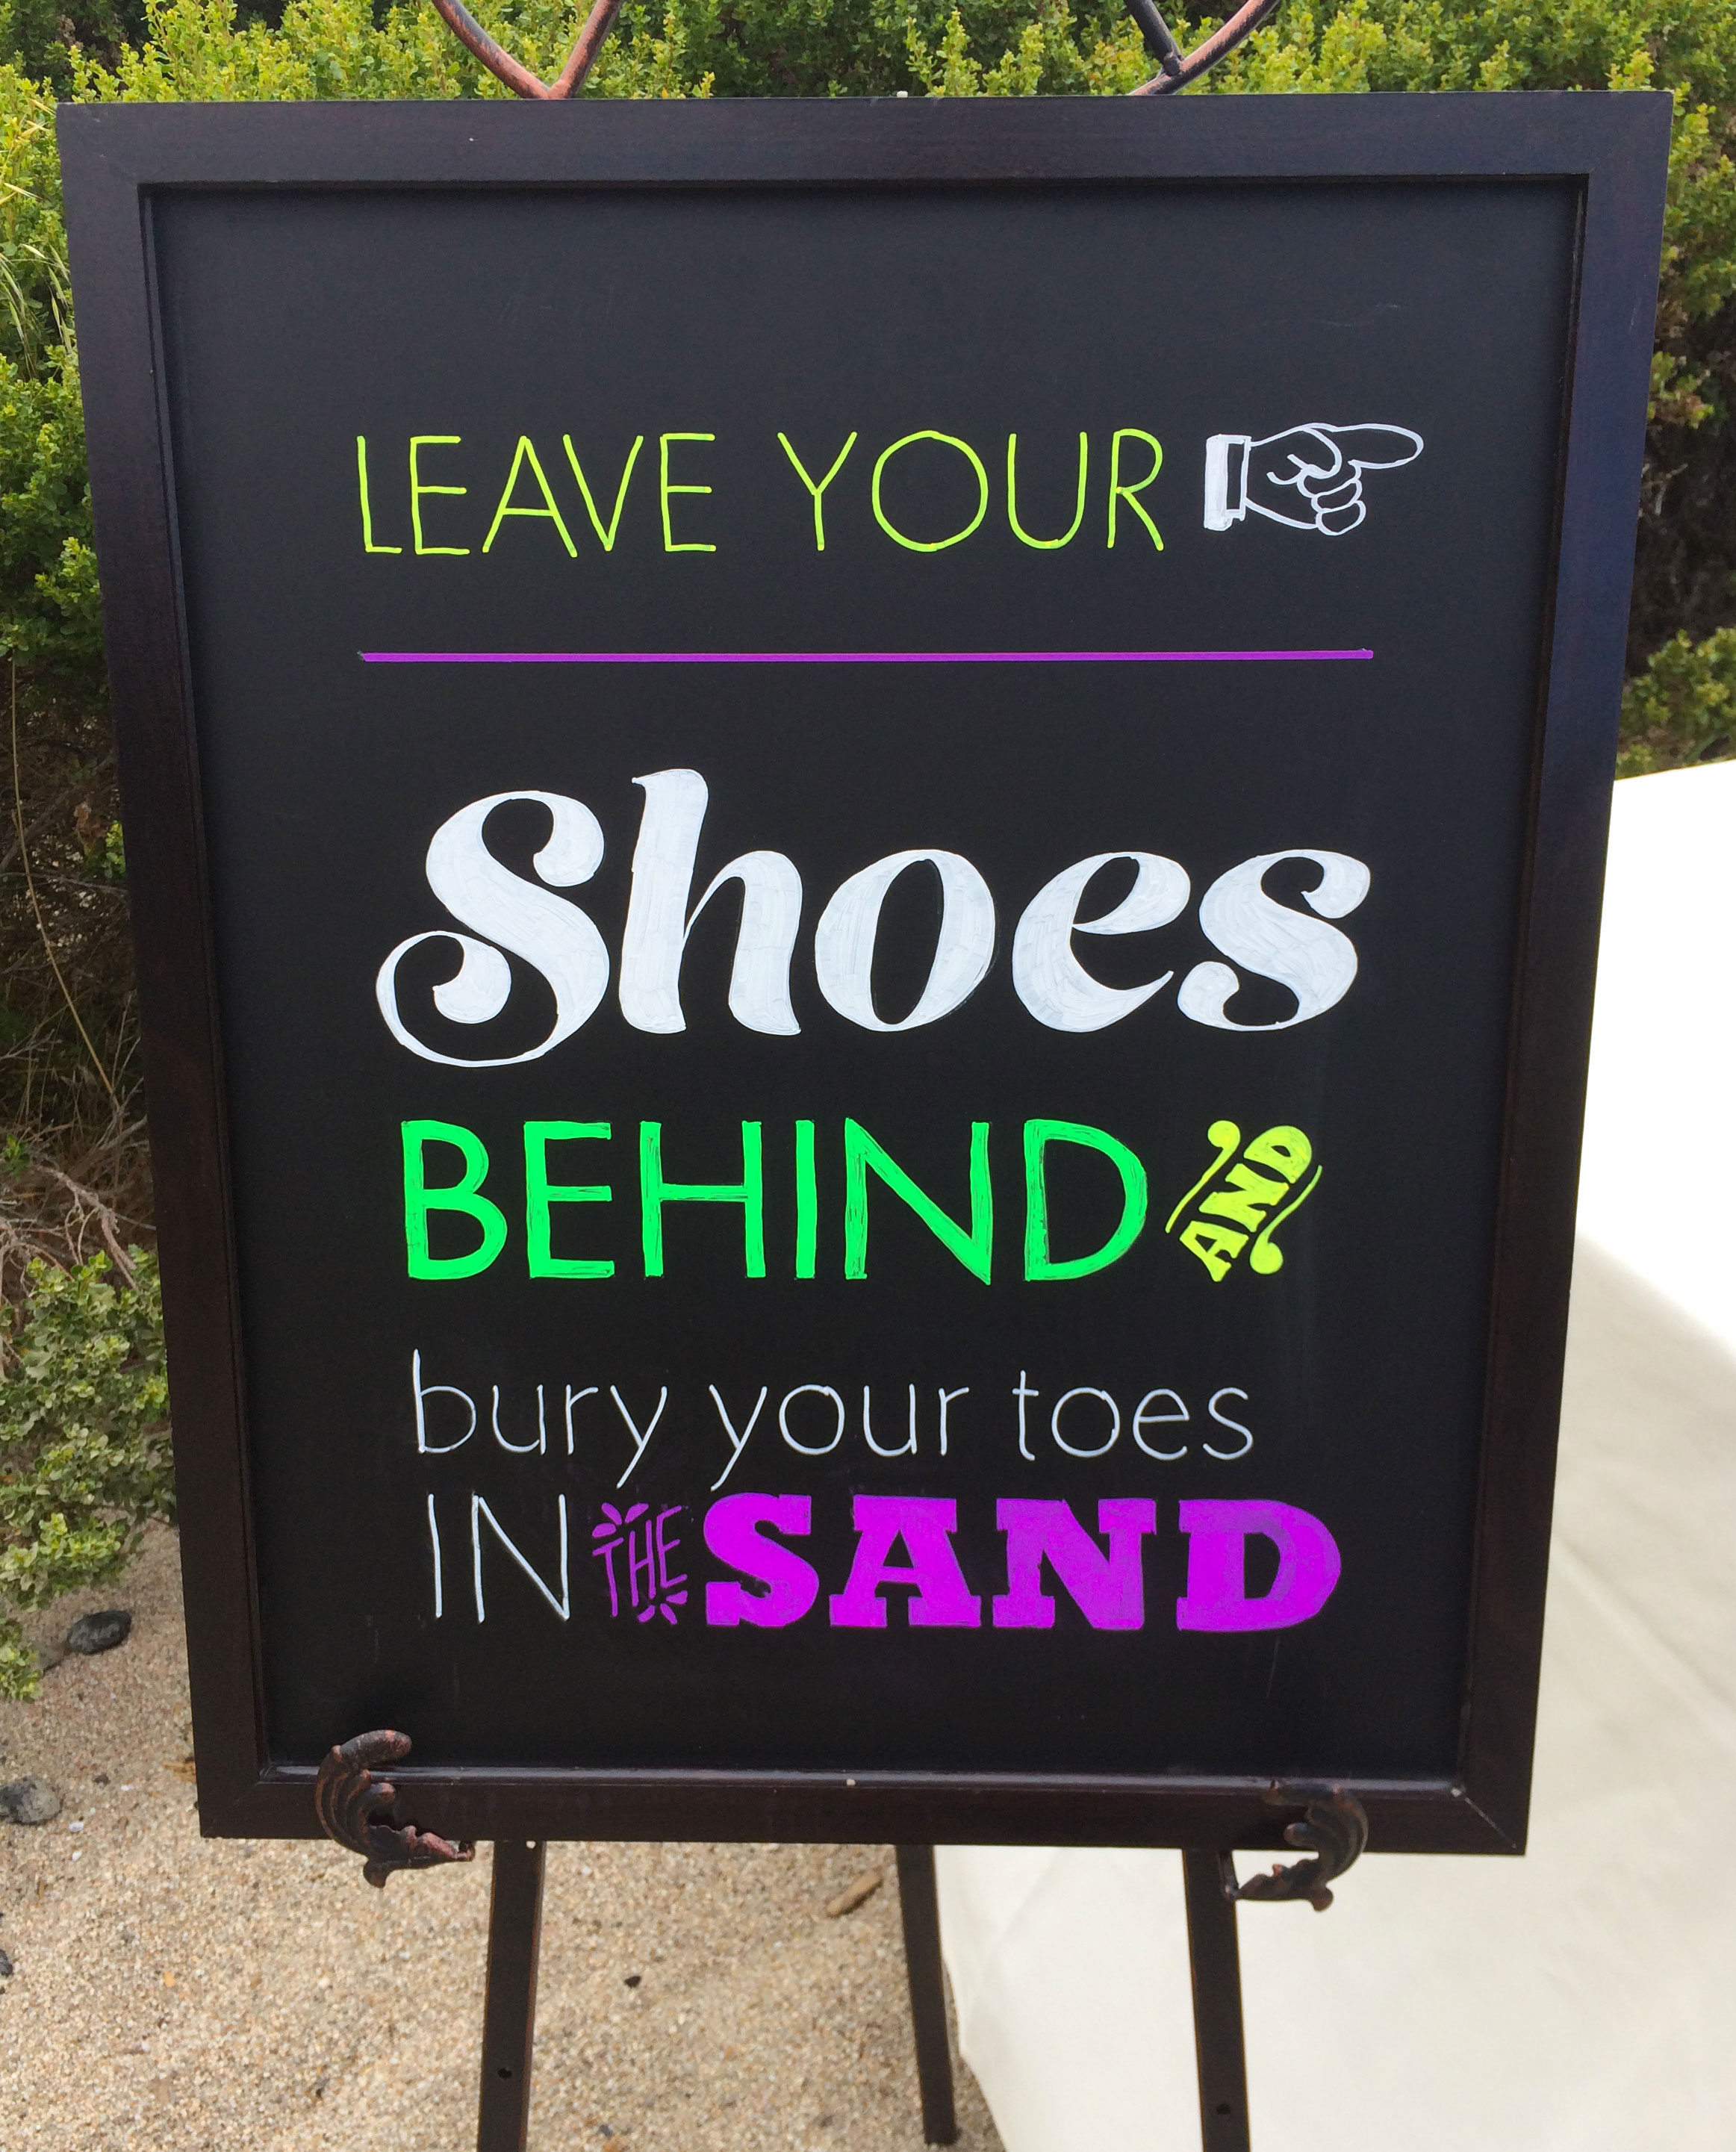
A friend recently asked me to create a couple of chalkboard signs for her son’s beach wedding and I admit I felt a bit daunted by the project. I haven’t practiced calligraphy in many years and I had never done calligraphy with chalk. I started thinking about how to keep the words spaced properly and decided I needed to figure out a way to transfer the design to the chalkboard before I drew with the chalk. It was easy! You do not have to be a graphic designer or calligrapher to do this. Here are the steps:
What you’ll need:
- Adobe Illustrator (this technique will work with Photoshop or InDesign too)
- a laser or inkjet printer
- tape, pencil, scissors, ruler, liquid chalk markers
- chalkboard
Create the calligraphy pattern
These instructions show you how to create the design using Illustrator but you can do basically the same thing if you want to create the design using Photoshop or InDesign.
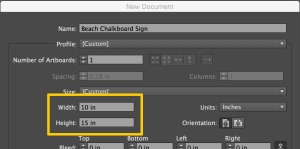
- Measure the chalkboard and note its dimensions.
- Launch Illustrator and create a document using the dimensions of the chalkboard.
- Use the type tool and various typefaces to create your design. Save the file. Here are a few great tutorials about using the type tool in Illustrator:
Work with fonts from Typekit
Point vs. Area Type
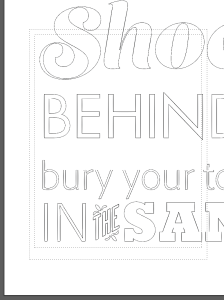
- I created my design in color to give me an idea of where I wanted to use different colored chalk. I also created a black rectangle behind the typography so that I could visualize what the final chalkboard would look like.

- Choose File > Save As to save a duplicate of the design. Select the type and choose Type > Create Outlines.

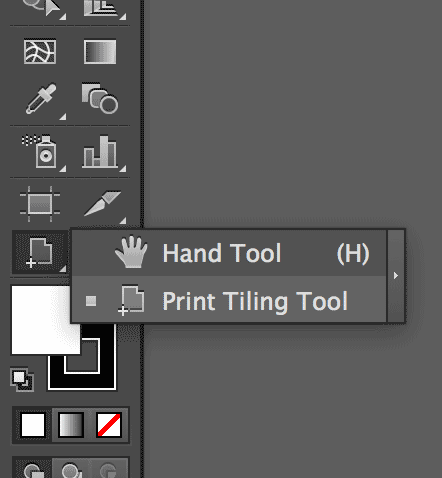
- Select View > Show Print Tiling. This will give you a preview of what the pages will look like when they print. Select the Print Tiling Tool. You will use it to indicate which part of the design you want to print.

- Use the Print Tiling Tool to print each area of your calligraphy design. Print the page or page tiles at 100% size. For my design, I printed 4 separate pages to include the whole design at full size. You definitely want some overlap. That will help you align the prints when you combine them.Notice in the illustration below that the inner dotted lines show what you’ll see in the print. The outer dotted lines indicate the edge of the paper. For further learning, here is more printing & tiling information: Printing onto multiple pages using tiling.
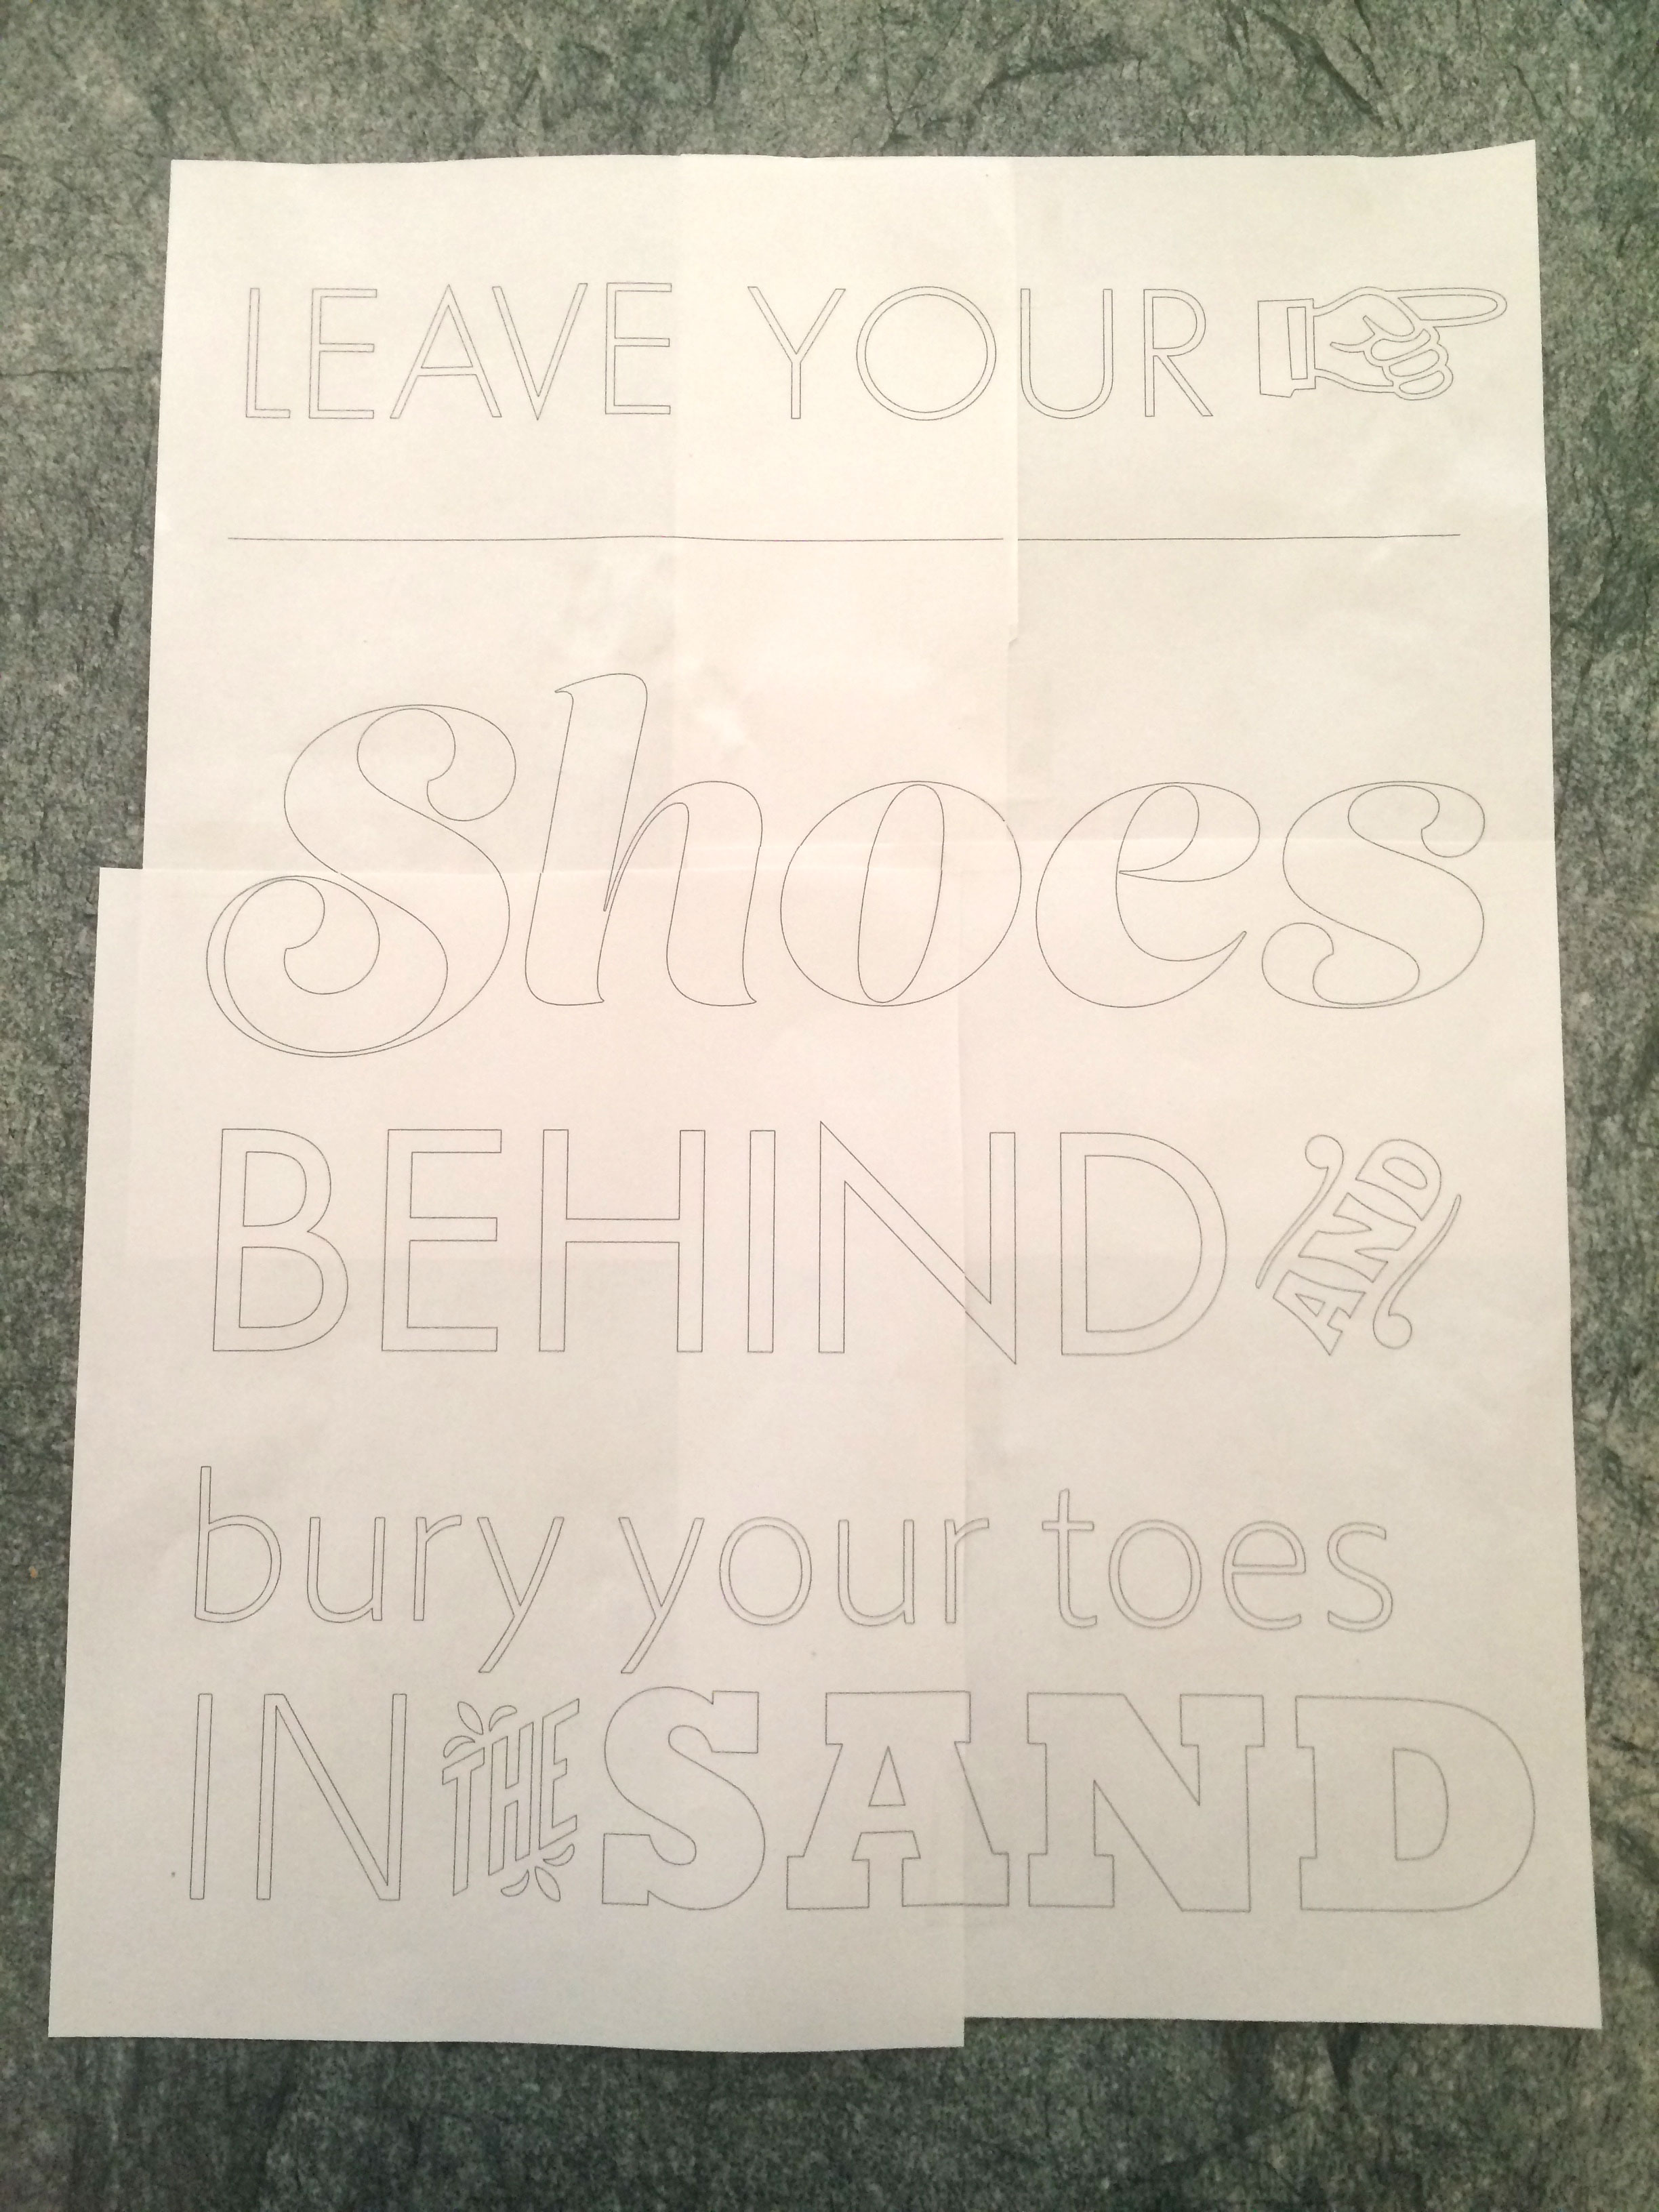
Combine the pages to create the full sized pattern.
- Take your scissors, some clear tape, and your printed pages and find a window or glass door you can work on. This works best during the day with lots of indirect light. (A glass of wine is optional but I recommend it.)
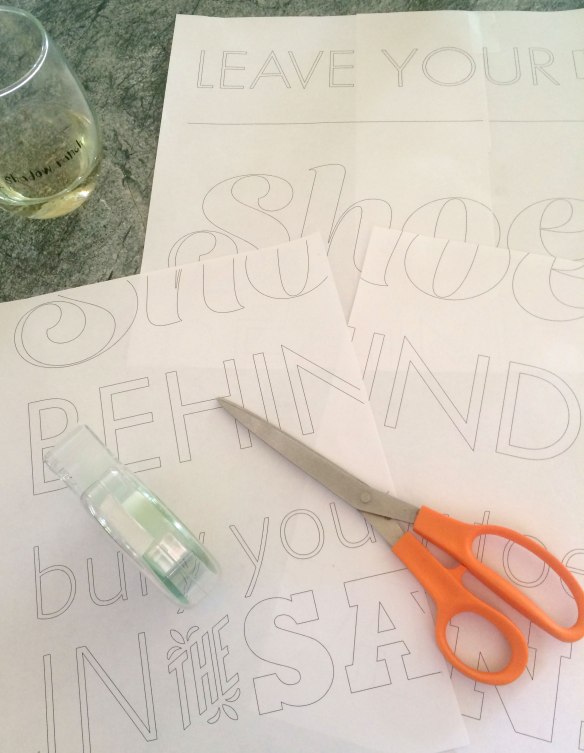
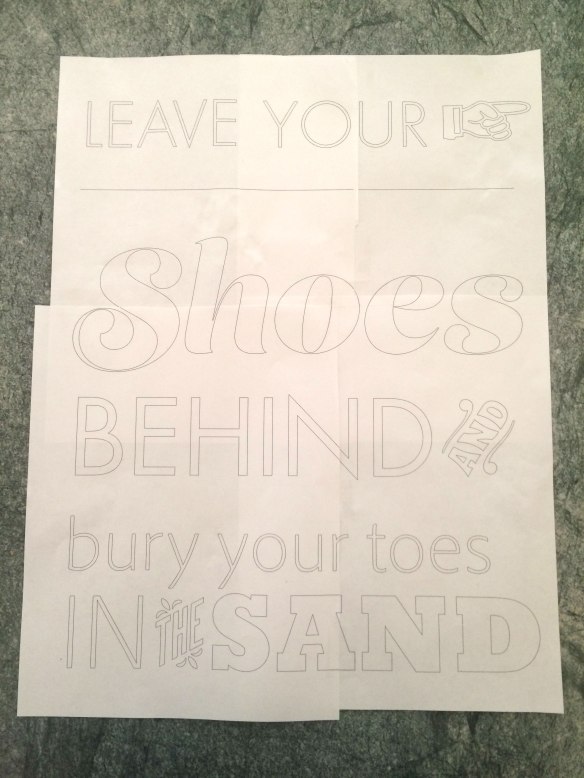
- Holding the pages up to the lighted window, line up the letterforms and once they overlap seamlessly, use the tape to secure the pages together. Continue aligning and taping until all the pages are taped together. You now have a pattern that is ready to trace.

Transfer the design to the chalkboard
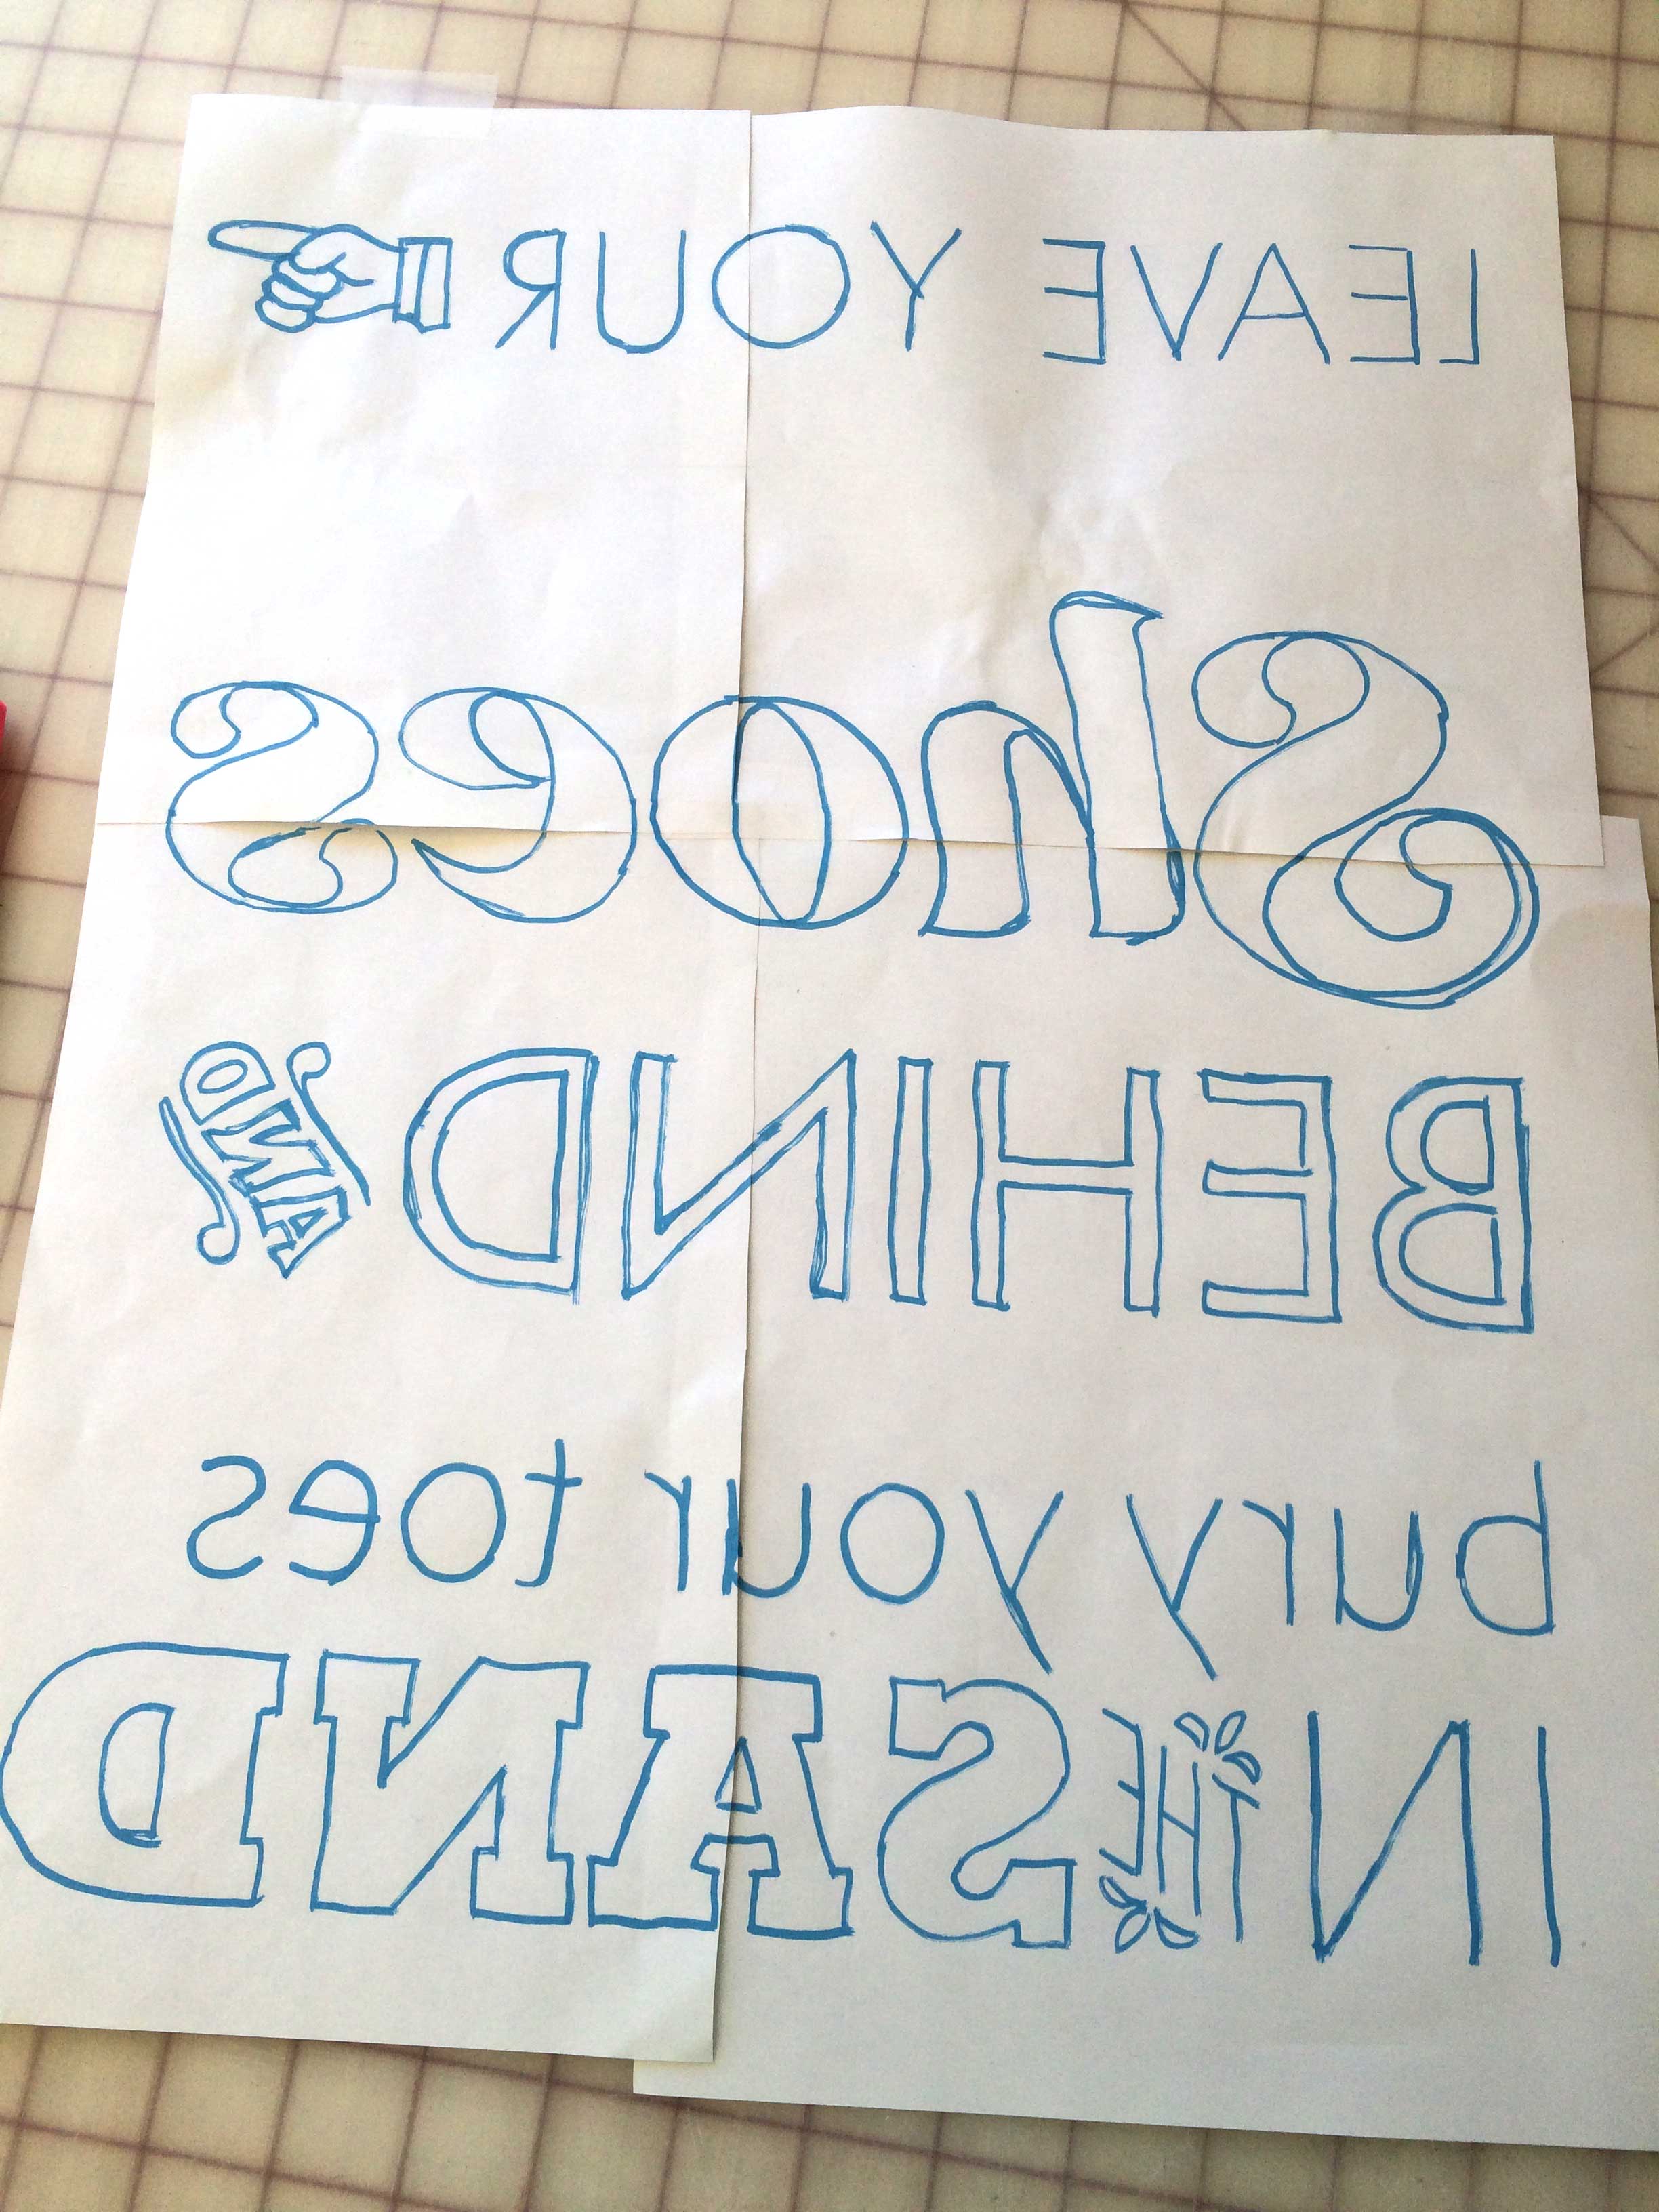
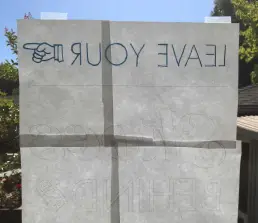
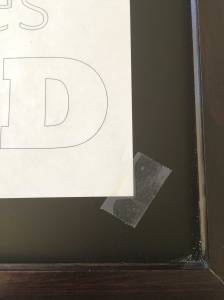
- Flip the pattern so the back side is visible. Tape the pattern to a window or glass door to reveal the design. If the overlapping pages block you from seeing the letterforms, you may need to trim them a bit. That’s what I did below:

- Use a fine tip chalk marker or chalk pencil to trace the outlines of the letterforms onto the back of your pattern. Don’t fill in the designs, just outline them. The chalk that’s left on the back of the paper will transfer to the chalkboard in the next step.

- Place the pattern sheet backside down on top of the chalkboard. Adjust its position and using a ruler, make sure the baseline of the letters is parallel to the chalkboard frame.
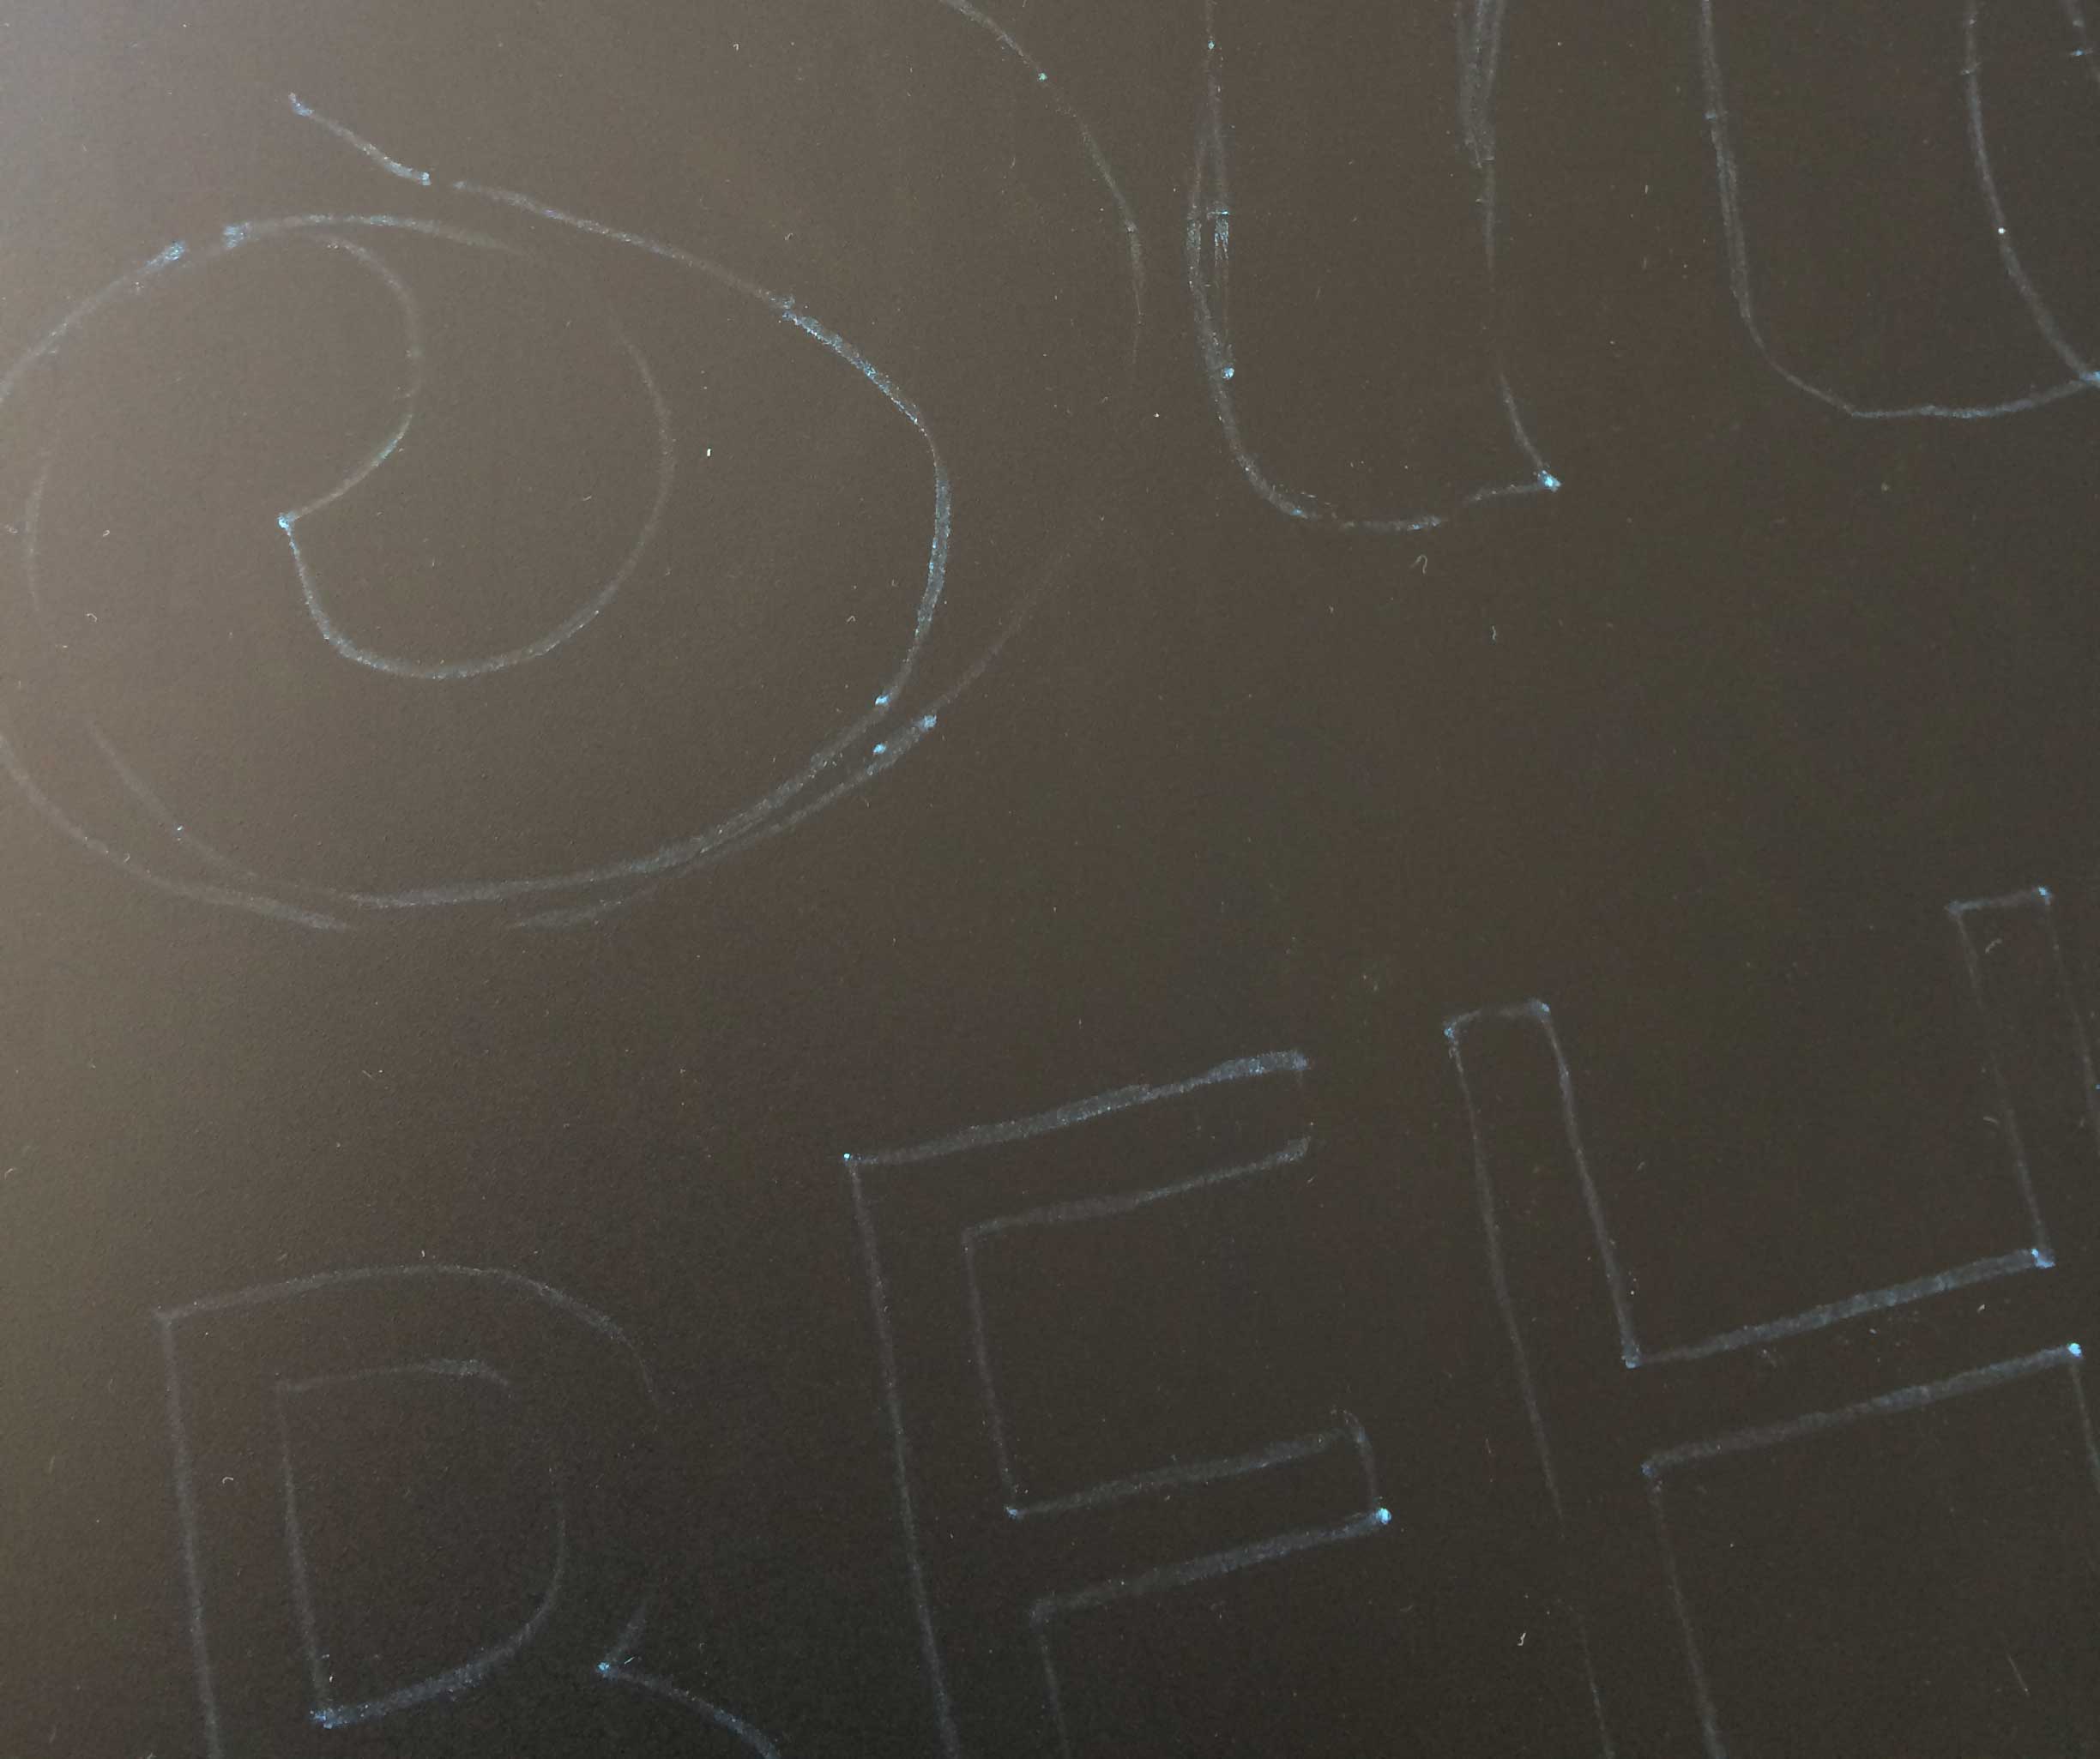
- Once the pattern is taped to the chalkboard, use a pencil to trace over the outlines of the letterforms on the right side of the pattern paper. I used a dull pencil so that it wouldn’t tear the paper and accidentally scratch or mark the chalkboard.

- Once you are finished tracing the whole design, you should have a light outline of your letterforms transferred to the blackboard. You will use the outlines as a guide for your calligraphy.

Create the chalkboard calligraphy
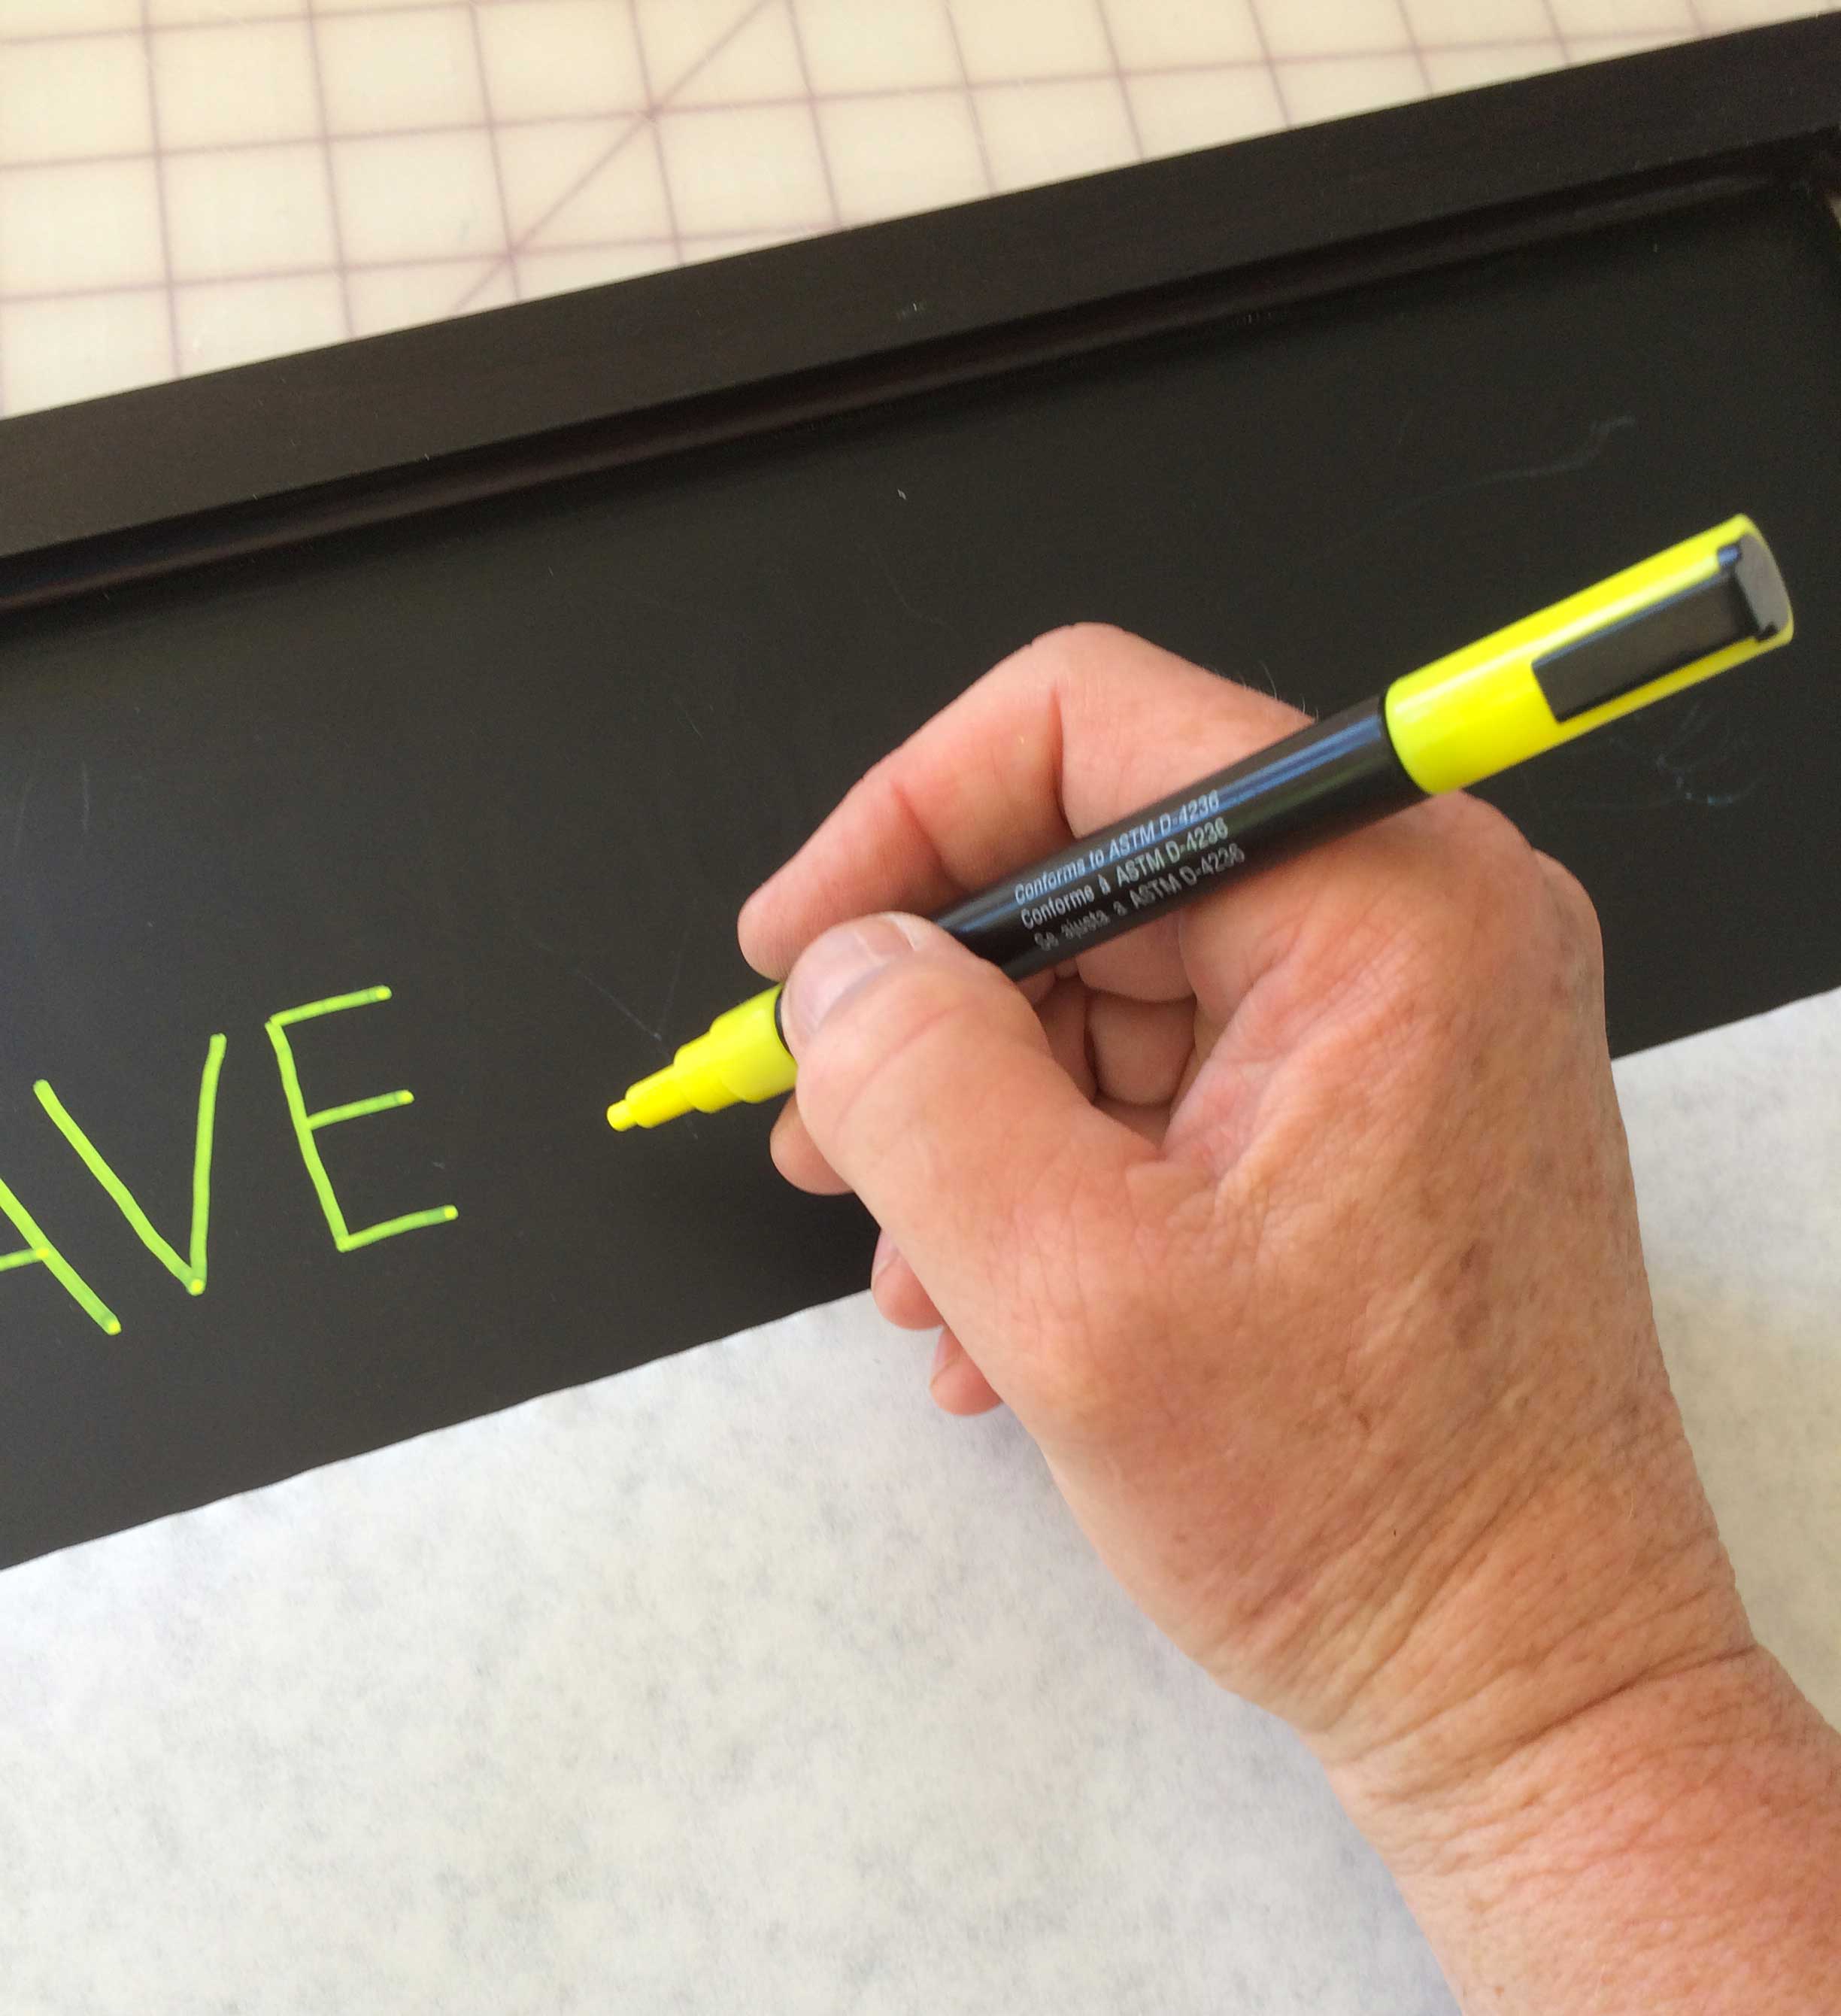
- Trace the outlines using the liquid chalk markers. I used two sizes. For very light, thin typefaces (Futura Light below), I used the small markers. Note: I placed a sheet of paper over the chalkboard as I drew so that my hand or sleeve didn’t smear or erase the light outlines.

- I started at the top and worked downward, moving the protective sheet as I went. For the straight line, I used a ruler and a thin marker. For larger letters and fill areas, I used the large chisel tip chalk markers. Theoretically you could use regular chalk for this but the liquid chalk markers give you much cleaner lines and more solid colors.

- Below is the finished board before I transported it to the wedding venue. To protect the chalk lettering, I wrapped the chalkboard with cardboard and taped it. I managed to smear some of the letters while I packed it up but I used some wet Q-Tips and the chalk markers to touch up and it looked as good as new.

Normally I wouldn’t mix so many different typefaces but the idea was to imitate the style of old fashioned ad designs. Here are the typefaces that I used:
- Futura Light and Futura Book
- Zapf Dingbats
- Lust Script
- HWT Catchwords
- Rockwell Extra Bold

 If you are looking for a way to create a paper-cut look with digital tools, check out this Paper Cut tutorial. Using a combination of hand sketching and Adobe Illustrator, Adobe senior designer Lidia Lukianova walks you through just a few simple steps to get this stunning effect. Her example shows a beautiful letterform but I’m sure you could use this technique with illustrations or icons just as effectively.